- Home
- FAQ
- How to install the 3 handle Price Pfister shower set?
Installation of Plumbing products
| How do rebuild a Price Pfister 3 handle shower valve? |
|
How do rebuild a Price Pfister 3 handle shower valve? Let’s start! Here is a drawing of all parts of the Pfister Verve handle shower trim kits. You can find the name of each part in this drawing. The parts are drawn in sequence. This is how they are installed.  Step 1. Turn off the water supply to your shower valve. Step 2. Use a part of knife or something flat or maybe a flat-head screwdriver to take the index button off. Be careful not to hurt your finger.  Step 3. Once removing the index button, you can see a Phillips head screw. Grab a cross-screwdriver and screw it off. 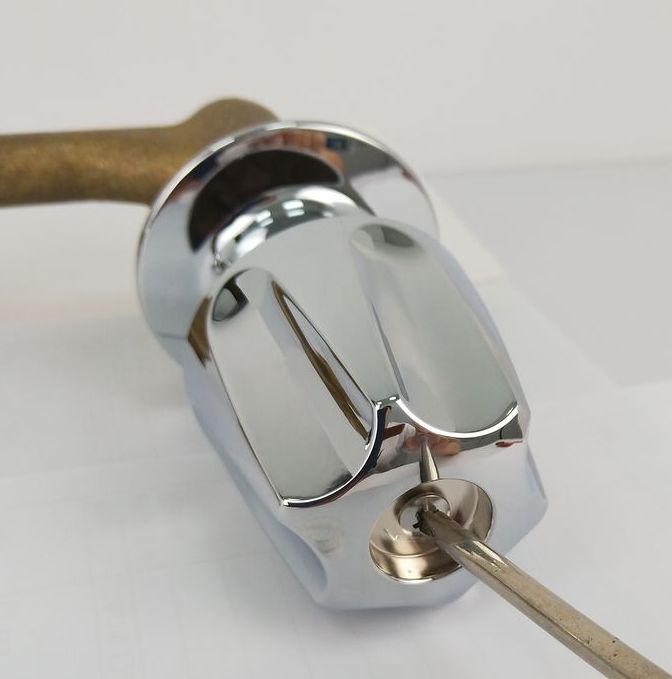 Step 4. Move the handle off by hand. 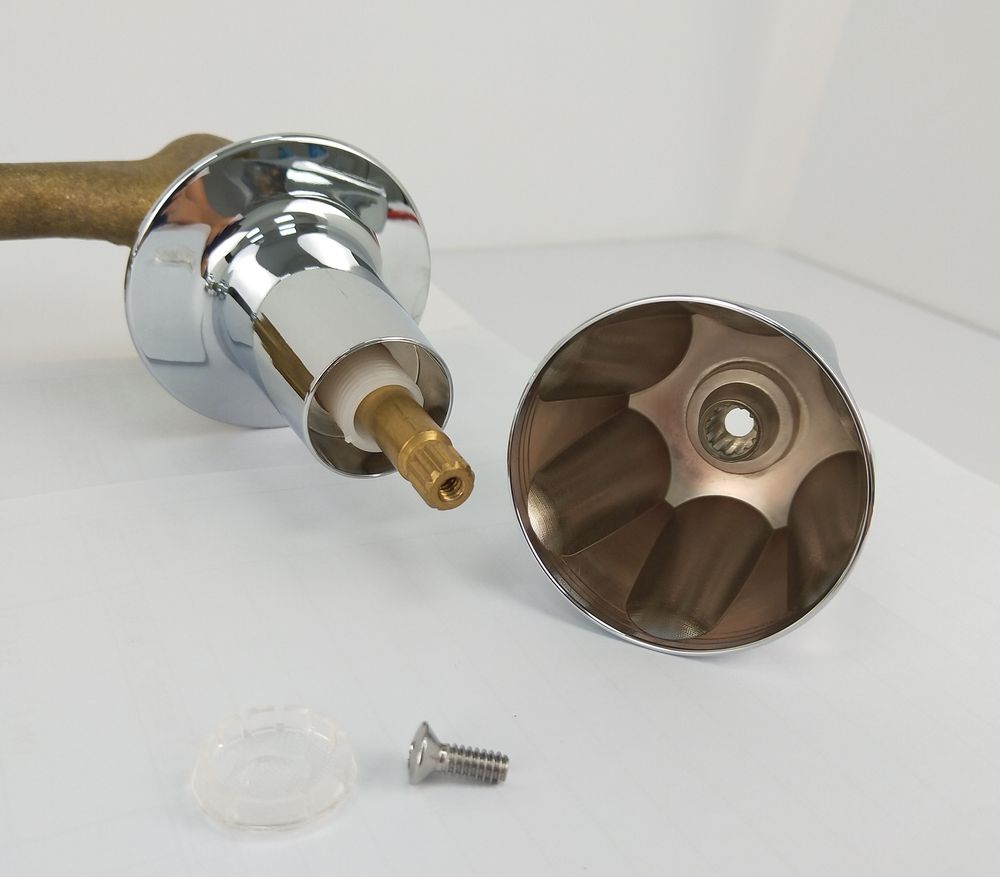 * The handle might stick on the stem firmly due to the rust or water stain. In this situation, you’d better to use a towel as a pad under the edge of the handle when removing it to avoid getting hurt. Step 5. Then, just screw off the escutcheon by hand. 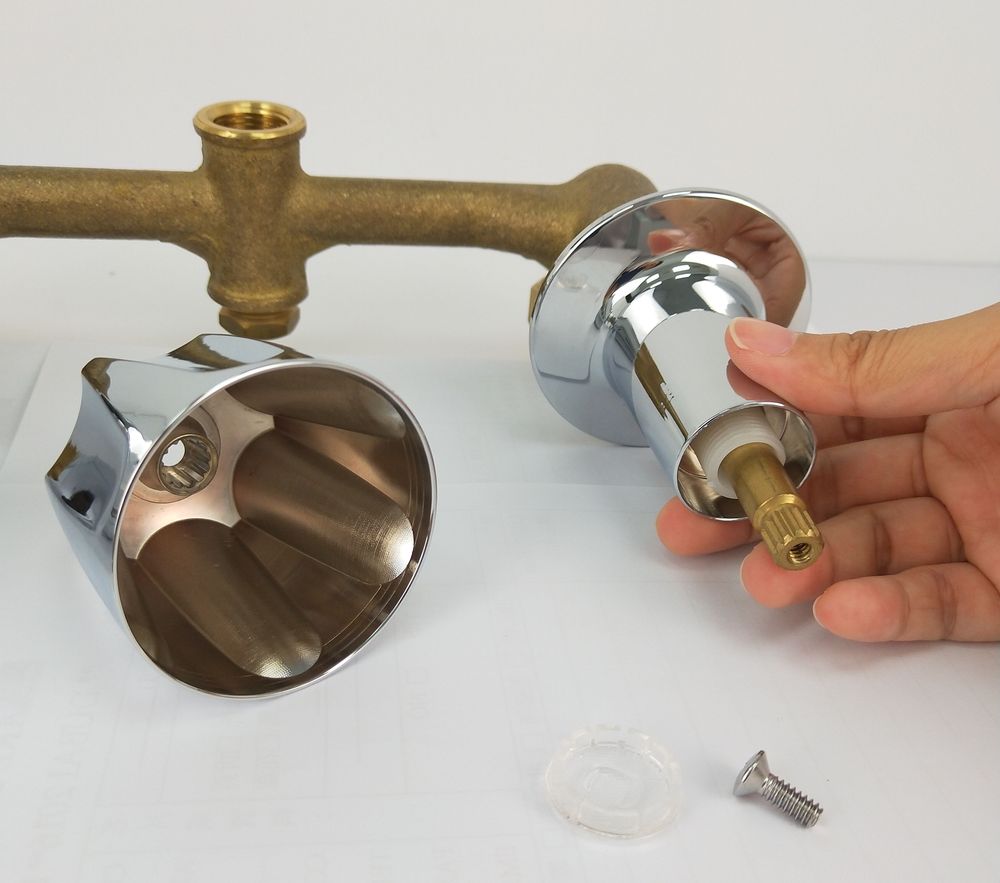 Step 6. Next, grab yourself a socket wrench, and push it through the stem. Usually, the socket wrench comes with a lever handle. Put the lever handle through the wrench and turn it to remove the stem.  * Or you can just use a wrench, but sometimes there is not enough space to use a wrench. So a socket wrench is really useful. * Don’t forget to take the bonnet washer off. It’s gonna have problem if you put two bonnet washers on the valve body. * Here you will find a worn out rubber washer beneath the stem. The surface is not flat at all. Since this is where the seal happens, if the washer is worn out, it leaks. Step 7. What you need to do next is to look at the condition of the seat. The seat is deep inside the valve body. If the face of the seat is corroded, it’s necessary to replace it. This is important because the bonnet washer and the seat make the seal. 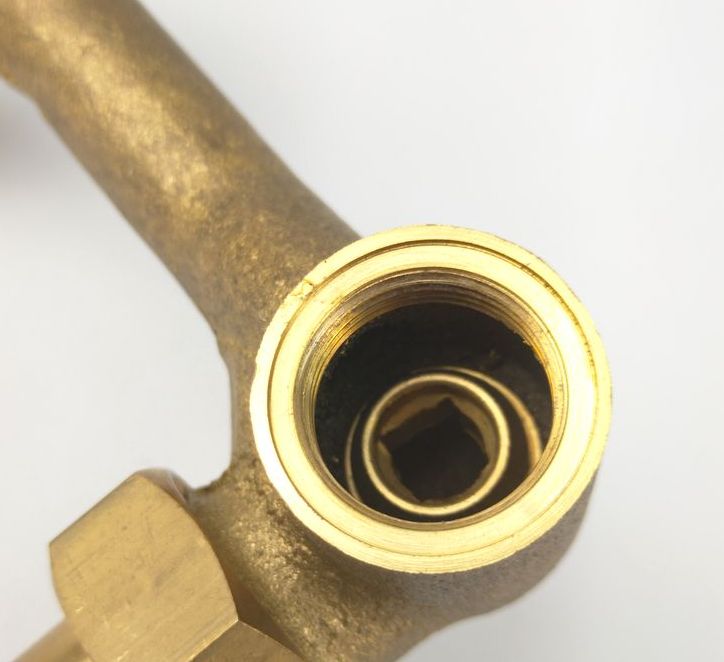 You can see a new seat here. The face is clean and super smooth. If the seat is etched, remove it with a seat wrench. 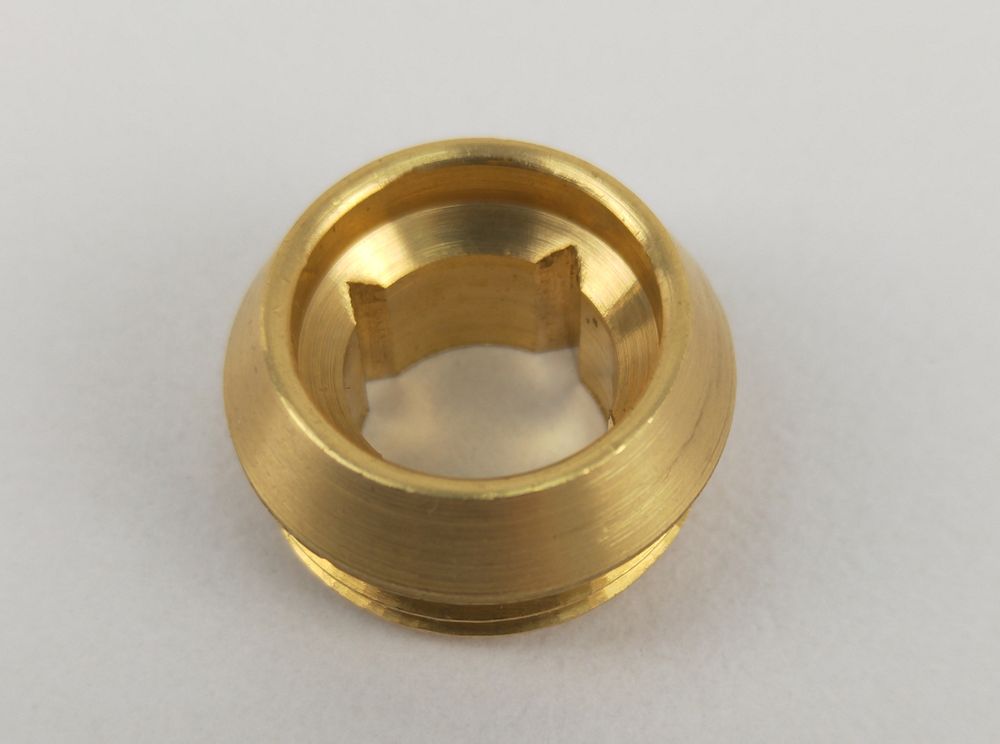 Step 8. Take a new seat and apply some thread sealant on the thread of the seat and screw it back to the valve body. *Better with the help of a seat wrench. 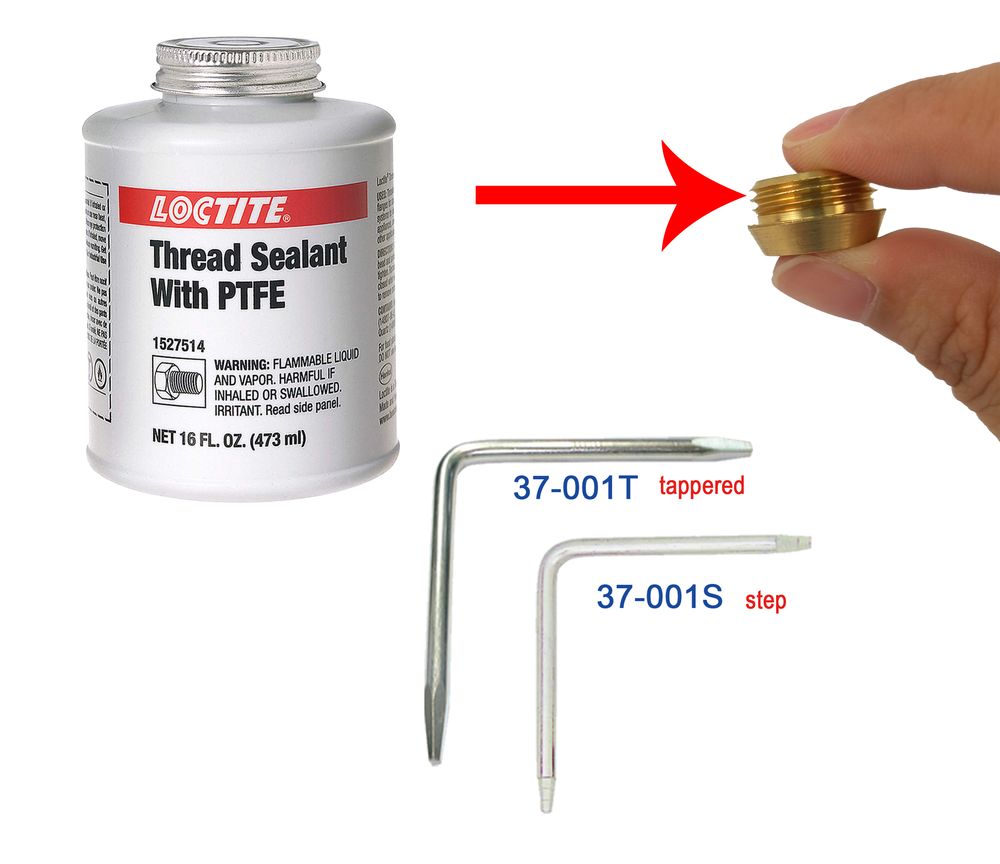 Step 9. Take a new stem. Make sure that the bonnet washer is put under the stem. Screw on the stem. Better to turn with a socket wrench firmly, but don’t over-do it. 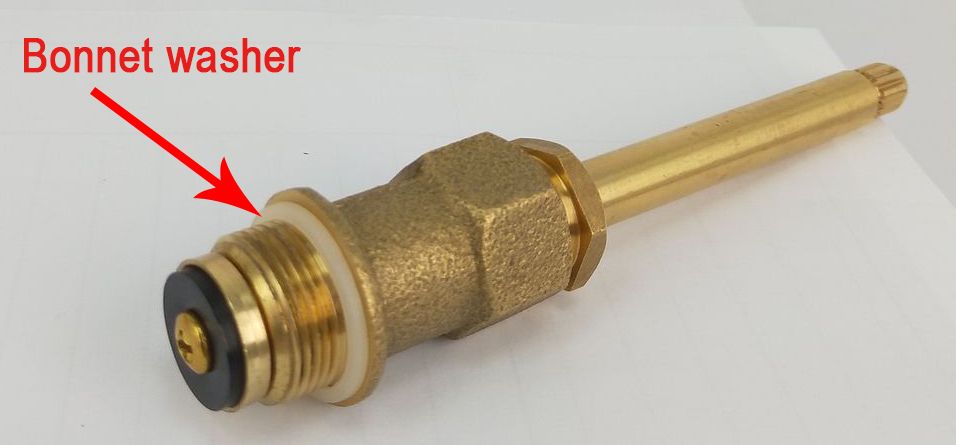 Step 10. Screw the nipple on the packing of the stem. The nipple is to keep the escutcheon in the position.  Step 11. Screw on the escutcheon. Just like how it was installed previously. Step 12. Slide the handle on the spline/broach of the stem. Step 13. Grab a screwdriver to screw the Phillips head screw on the handle. Now the handle is tightened on the stem. Step 14. Last, push the index button on the handle. All is done! Now turn on the water supply to make sure the leaking problem is solved! |
